
10.1.3 反射
如果想要去模拟反射的效果,我们就需要 反射的出射方向,去从CubeMap中的对应面的纹理 进行颜色采样。所以我们就需要根据入射光线的方向和表面法线方向来计算反射方向
代码实现
Shader "Unity Shaders Book/Chapter10/Reflection"{ Properties { _BaseColor ("BaseColor", Color) = (1,1,1,1) _ReflectColor("Reflection Color",Color) = (1,1,1,1) _ReflectAmount("Reflection Amount",Range(0,1)) = 1 _CubeMap("Reflection Cubemap",Cube) = "_Skybox"{}
} SubShader { Tags { "RenderType"="Opaque" } Pass { HLSLPROGRAM #pragma vertex vert #pragma fragment frag
#include "Packages/com.unity.render-pipelines.universal/ShaderLibrary/Core.hlsl" #include "Packages/com.unity.render-pipelines.universal/ShaderLibrary/Lighting.hlsl" #include "Packages/com.unity.render-pipelines.universal/ShaderLibrary/UnityInput.hlsl" #include "Packages/com.unity.render-pipelines.universal/ShaderLibrary/Input.hlsl" #include "Packages/com.unity.render-pipelines.universal/ShaderLibrary/Shadows.hlsl"
TEXTURECUBE(_CubeMap); SAMPLER(sampler_CubeMap);
CBUFFER_START(UnityPerMaterial) half4 _BaseColor; half4 _ReflectColor; float _ReflectAmount; CBUFFER_END
struct Attributes { float3 positionOS: POSITION; float3 normalOS: NORMAL; };
struct Varyings { float4 positionCS: SV_POSITION; float3 positionWS: TEXCOORD0; float3 normalWS: TEXCOORD1; float3 viewDirWS: TEXCOORD2; float3 reflectonWS: TEXCOORD3; float4 shadowCoord: TEXCOORD4; };
Varyings vert(Attributes IN) { Varyings OUT; ZERO_INITIALIZE(Varyings,OUT); OUT.positionCS = TransformObjectToHClip(IN.positionOS); OUT.normalWS = normalize(TransformObjectToWorldNormal(IN.normalOS)); OUT.positionWS = TransformObjectToWorld(IN.positionOS); OUT.viewDirWS = GetWorldSpaceViewDir(OUT.positionWS); OUT.reflectonWS = reflect(OUT.viewDirWS, OUT.normalWS);
OUT.shadowCoord = TransformWorldToShadowCoord(OUT.positionWS); return OUT; }
half4 frag(Varyings IN) : SV_TARGET { half3 worldNormal = normalize(IN.normalWS); half3 worldLightDir = normalize(_MainLightPosition); half3 worldViewDir = normalize(IN.viewDirWS);
half3 ambient = UNITY_LIGHTMODEL_AMBIENT.xyz; half3 diffuse = _MainLightColor.rgb*_BaseColor*max(0,dot(worldNormal,worldLightDir));
// use the reflect dir in world space to access the cubemap half3 reflection = SAMPLE_TEXTURECUBE(_CubeMap, sampler_CubeMap, IN.reflectonWS).rgb;
Light mainLight = GetMainLight(IN.shadowCoord); half atten = mainLight.shadowAttenuation;
half3 finalColor = ambient+lerp(diffuse,reflection,_ReflectAmount)*atten;
return half4(finalColor,1); } ENDHLSL } } FallBack "Universal Render Pipeline/Lit"}为什么要在Vertex 中计算反射方向?
我们也可以在 片元着色器中 计算反射方向。这样得到的效果更加细腻,但这种效果其实不是很明显,对大部分人来说都可以忽略不计。处于性能上的考虑,故在顶点着色器中 计算放射方向
10.1.4 折射
折射的基础就是 初中物理的 当光线从一种介质斜射进另一种介质的时候,传播方向一般会发生改变。 在给定 入射角的情况下 ,我们可以使用斯涅尔定律 来计算反射角
n1 和 n2 分别是两个介质的折射率
10.1.5 菲涅尔反射
Schlick菲涅尔近似等式
其中 F0 是一个反射系数,控制菲涅尔反射的强度。v是视角方向,n是表面法线。
代码
Shader "Unity Shaders Book/Chapter10/Fresnel"{ Properties { _BaseColor("Base Color", Color) = (1, 1, 1, 1) _FresnelScale("Fresnel Scale", Range(0, 1)) = 0.5 _Cubemap("Reflection Cubemap", Cube) = "_Skybox" {} }
SubShader { Pass { HLSLPROGRAM #pragma vertex vert #pragma fragment frag
#include "Packages/com.unity.render-pipelines.universal/ShaderLibrary/Core.hlsl" #include "Packages/com.unity.render-pipelines.universal/ShaderLibrary/Lighting.hlsl" #include "Packages/com.unity.render-pipelines.universal/ShaderLibrary/UnityInput.hlsl" #include "Packages/com.unity.render-pipelines.universal/ShaderLibrary/Input.hlsl" #include "Packages/com.unity.render-pipelines.universal/ShaderLibrary/Shadows.hlsl"
TEXTURECUBE(_Cubemap); SAMPLER(sampler_Cubemap);
CBUFFER_START(UnityPerMaterial) float4 _BaseColor; float _FresnelScale; CBUFFER_END
struct Attributes { float4 positionOS : POSITION; float3 normalOS:NORMAL; };
struct Varyings { float4 positionCS : SV_POSITION; float3 normalWS : TEXCOORD0; float3 positionWS : TEXCOORD1; float3 viewDirWS : TEXCOORD2; float3 reflectWS : TEXCOORD3; float4 shadowCoord : TEXCOORD4; };
Varyings vert(Attributes IN) { Varyings OUT; OUT.positionCS = TransformObjectToHClip(IN.positionOS); OUT.normalWS = TransformObjectToWorldNormal(IN.normalOS); OUT.positionWS = TransformObjectToWorld(IN.positionOS).xyz; OUT.viewDirWS = GetWorldSpaceViewDir(OUT.positionWS); OUT.reflectWS = reflect(-OUT.viewDirWS, OUT.normalWS);
OUT.shadowCoord = TransformWorldToShadowCoord(OUT.positionWS);
return OUT; }
half4 frag(Varyings IN) : SV_Target { half3 worldNormal = normalize(IN.normalWS); half3 worldLightDir = normalize(_MainLightPosition.xyz); half3 worldViewDir = normalize(IN.viewDirWS); half3 ambient = UNITY_LIGHTMODEL_AMBIENT.xyz;
Light mainLight = GetMainLight(IN.shadowCoord); float atten = mainLight.shadowAttenuation;
half3 reflection = SAMPLE_TEXTURECUBE(_Cubemap, sampler_Cubemap, IN.reflectWS).rgb; // schlick菲涅尔近似等式 half fresnel = _FresnelScale + (1 - _FresnelScale) * pow(1 - dot(worldNormal, worldViewDir), 5); half3 diffuse = _MainLightColor.rgb * _BaseColor.rgb * max(0, dot(worldNormal, worldLightDir)); half3 color = ambient + lerp(diffuse, reflection, saturate(fresnel)) * atten;
return half4(color, 1); } ENDHLSL } }}10.2 渲染纹理
现代的GPU 允许我们去吧 整个3D场景去渲染到 一个 中间缓冲中,即 渲染目标纹理(Render Target Texture, RTT) 而不是传统的帧缓冲或后备缓冲。
与之相关的技术是 多重渲染目标(Multiple Render Target, MRT),这种技术指的是GPU 允许我们把场景渲染到多个目标纹理中, 不再需要为每个渲染目标纹理 渲染完整的场景。
延迟渲染 就是多重渲染目标的一个应用
10.2.1 镜子效果
10.2.2 玻璃效果
Unity Shader中还可以使用一种特殊的 Pass 来获取屏幕图像,这就是GrabPass。我们在定义了GrabPass 之后,Unity会把当前屏幕的图像绘制在一张纹理当中,一边我们在后续的Pass中访问它。
我们可以使用GrabPass 来实现诸如玻璃等透明材质的模拟。使用GrabPass可以让我们对物体后面的图像进行更复杂的处理。例如使用法线来模拟折射效果。
当使用 GrabPass时,需要小心物体的渲染队列设置,我们通常需要把物体的渲染队列设置成透明队列。这样可以保证在渲染该物体时,所有的不透明物体已经被渲染在屏幕上。获取正确的屏幕图像。
代码
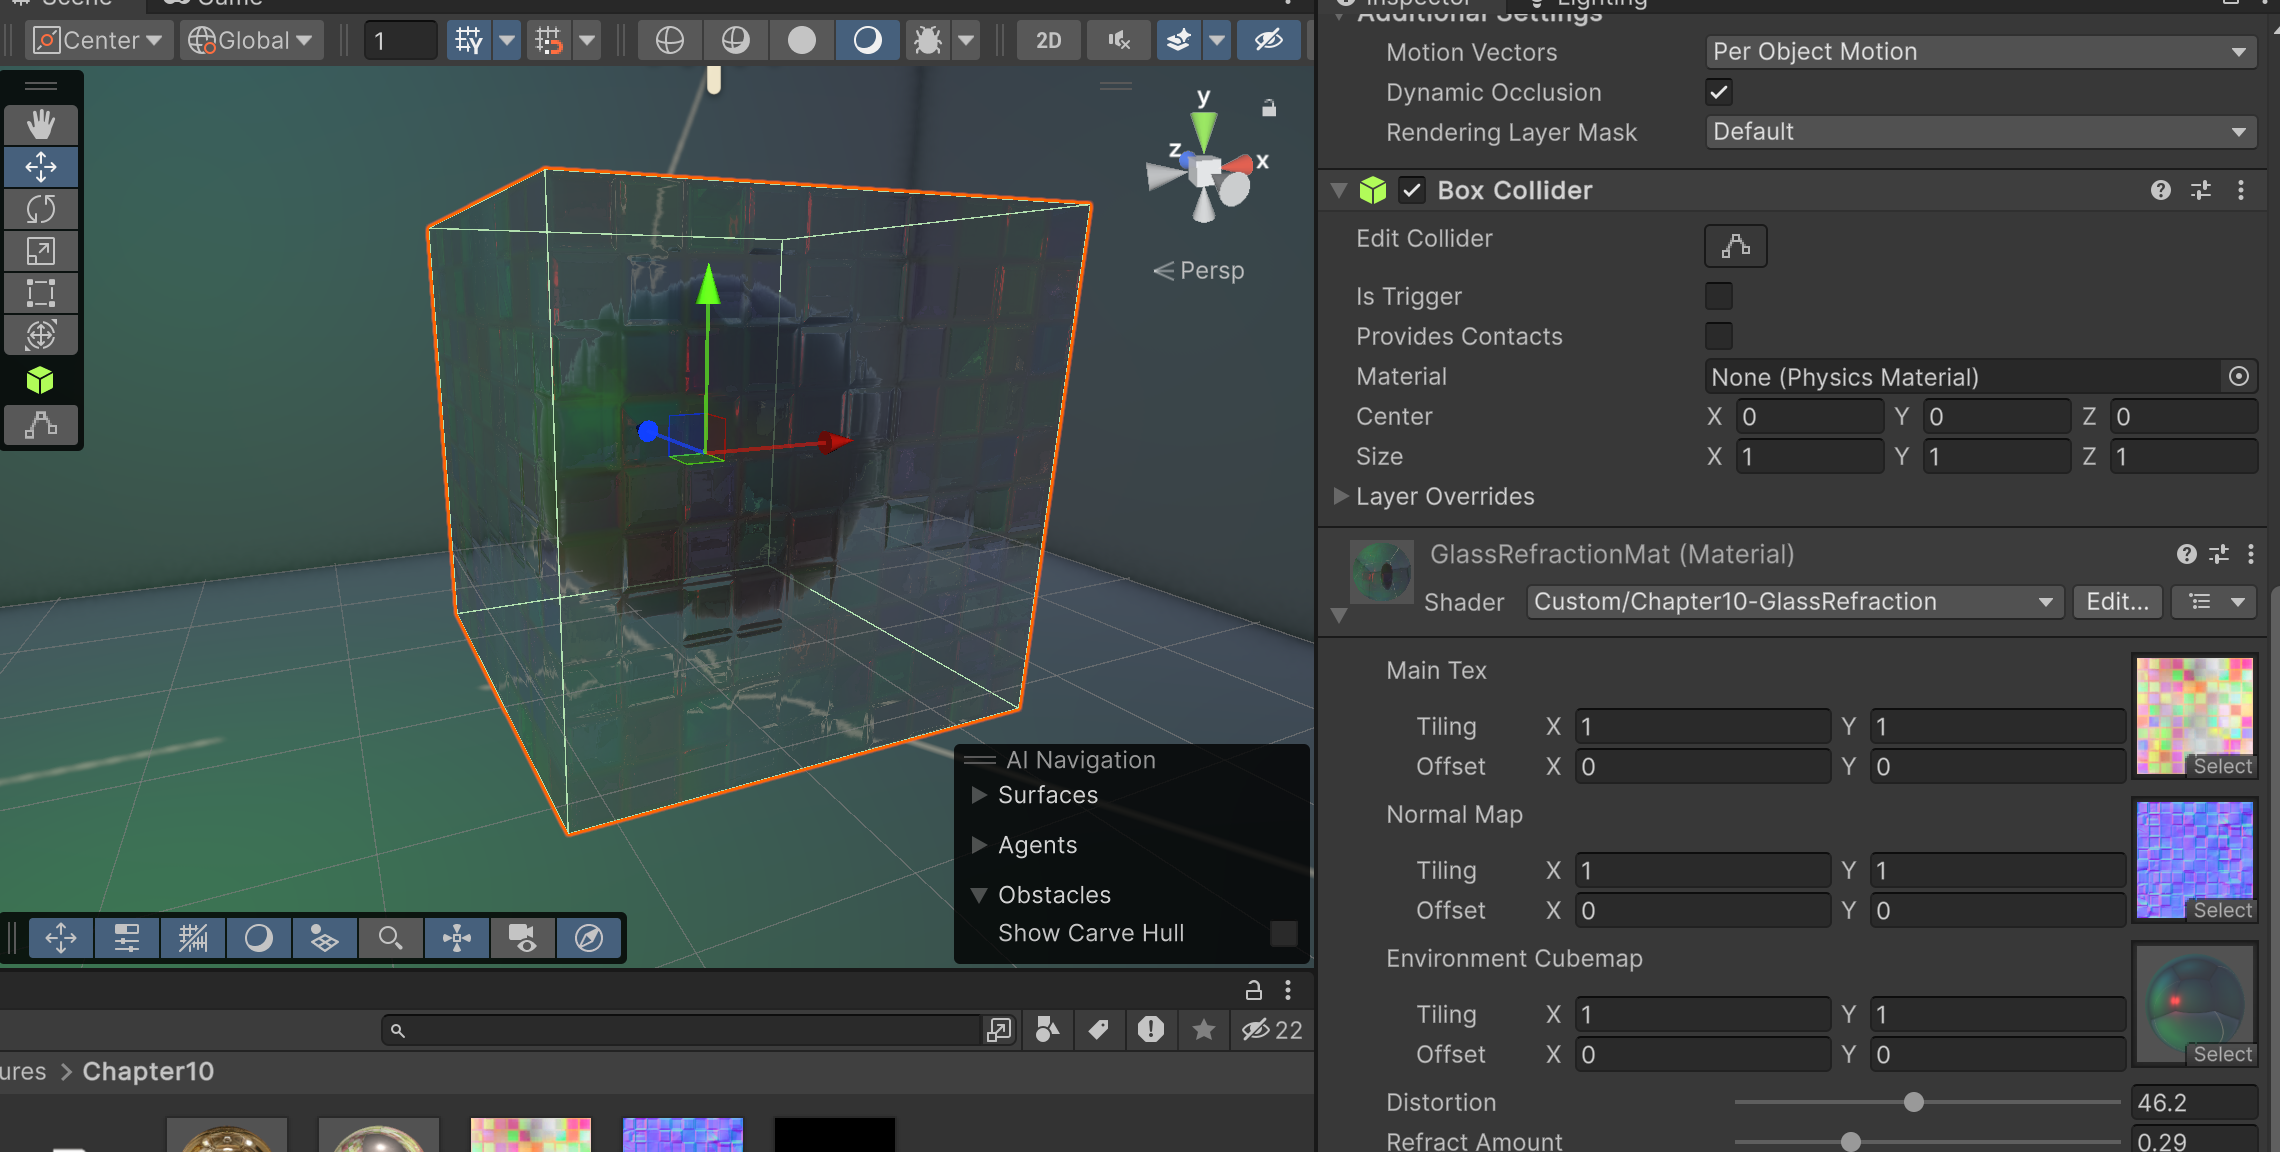
Shader "Custom/Chapter10-GlassRefraction"{ Properties { _MainTex("Main Tex",2D) = "white" {} _BumpMap("Normal Map",2D) = "bump" {} _CubeMap("Environment Cubemap",Cube)="_Skybox" {} _Distortion("Distortion",Range(0,100)) = 10 _RefractAmount("Refract Amount",Range(0,1)) = 1 } SubShader { Tags { "Queue" = "Transparent" "RenderType"="Opaque" }
Pass { HLSLPROGRAM #pragma vertex vert #pragma fragment frag
#include "Packages/com.unity.render-pipelines.universal/ShaderLibrary/Core.hlsl" #include "Packages/com.unity.render-pipelines.universal/ShaderLibrary/Lighting.hlsl" #include "Packages/com.unity.render-pipelines.universal/ShaderLibrary/UnityInput.hlsl" #include "Packages/com.unity.render-pipelines.universal/ShaderLibrary/Input.hlsl" #include "Packages/com.unity.render-pipelines.universal/ShaderLibrary/Shadows.hlsl" #include "Packages/com.unity.render-pipelines.universal/ShaderLibrary/DeclareOpaqueTexture.hlsl"
CBUFFER_START(UnityPerMaterial) float4 _MainTex_ST; float4 _BumpMap_ST; float _Distortion; half _RefractAmount; //GrabPass 指定的纹理名称 // float4 _CameraOpaqueTexture_TexelSize; CBUFFER_END
TEXTURE2D(_MainTex); SAMPLER(sampler_MainTex);
TEXTURE2D(_BumpMap); SAMPLER(sampler_BumpMap);
TEXTURECUBE(_CubeMap); SAMPLER(sampler_CubeMap);
struct Atrributes { float4 positionOS : POSITION; float3 normalOS : NORMAL; float4 tangent: TANGENT; float2 texcoord: TEXCOORD0; };
struct Varyings { float4 positionCS : SV_POSITION;
float4 TtoW0 : TEXCOORD0; float4 TtoW1 : TEXCOORD1; float4 TtoW2 : TEXCOORD2; float4 uv: TEXCOORD3; float4 positionScreen: TEXCOORD4; float4 tangentWS: TEXCOORD5; };
Varyings vert(Atrributes IN) { Varyings OUT; // VertexPositionInputs position_inputs = GetVertexPositionInputs(IN.positionOS.xyz);
OUT.positionCS = TransformObjectToHClip(IN.positionOS); OUT.positionScreen = ComputeScreenPos(OUT.positionCS); OUT.uv.xy = TRANSFORM_TEX(IN.texcoord, _MainTex); OUT.uv.zw = TRANSFORM_TEX(IN.texcoord, _BumpMap);
float3 worldPos = TransformObjectToWorld(IN.positionOS).xyz; half3 worldNormal = TransformObjectToWorldNormal(IN.normalOS); half3 worldTangent = TransformObjectToWorldDir(IN.tangent.xyz); half3 worldBinormal = cross(worldNormal, worldTangent) * IN.tangent.w;
OUT.TtoW0 = float4(worldTangent.x, worldBinormal.x, worldNormal.x, worldPos.x); OUT.TtoW1 = float4(worldTangent.y, worldBinormal.y, worldNormal.y, worldPos.y); OUT.TtoW2 = float4(worldTangent.z, worldBinormal.z, worldNormal.z, worldPos.z);
return OUT; }
half4 frag(Varyings IN):SV_TARGET { float3 worldPos = float3(IN.TtoW0.w, IN.TtoW1.w, IN.TtoW2.w); half3 worldViewDir = normalize(GetWorldSpaceViewDir(worldPos));
half3 bump = UnpackNormal(SAMPLE_TEXTURE2D(_BumpMap, sampler_BumpMap, IN.uv.zw)); // 通过法线贴图计算出切线空间的偏移 float2 offset = bump.xy * _Distortion * _CameraOpaqueTexture_TexelSize.xy; IN.positionScreen.xy = IN.positionScreen.xy + offset; half3 refrCol = SampleSceneColor(IN.positionScreen.xy / IN.positionScreen.w);
bump = normalize(half3(dot(IN.TtoW0.xyz,bump), dot(IN.TtoW1.xyz, bump), dot(IN.TtoW2.xyz, bump)));
// 获取屏幕uv
half3 reflDir = reflect(-worldViewDir, bump); half4 texColor = SAMPLE_TEXTURE2D(_MainTex, sampler_MainTex, IN.uv.xy); half3 reflCol = SAMPLE_TEXTURECUBE(_CubeMap, sampler_CubeMap, reflDir).rgb*texColor.rgb;
half3 finalColor = refrCol * (1 - _RefractAmount) + reflCol * _RefractAmount;
return half4(finalColor, 1); } ENDHLSL
} } FallBack "Diffuse"}其中_Distortion 用来跟 存取的屏幕目标纹理混合,产生偏移效果,模拟折射
10.2.3 渲染纹理 VS GrabPass
尽管说GrabPass 和 渲染纹理+额外摄像机
GrabPass 实现简单,但是这张屏幕图片的分辨率是与屏幕分辨率一致的,在移动设备上,GrabPass虽然不会重新渲染场景,但往往需要cpu读取后备缓冲中的数据,破坏了 CPU和GPU的并行性